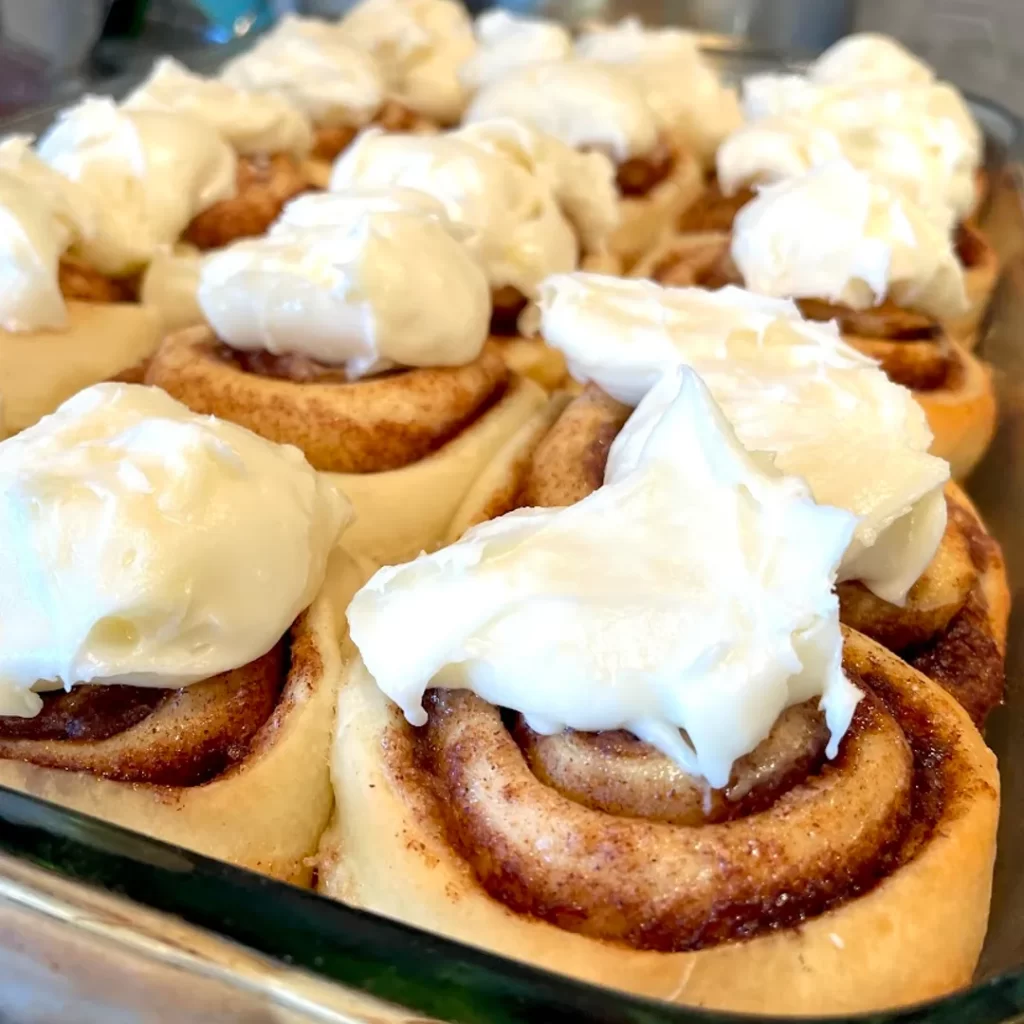
About a week ago I took my daughter to the mall to look for shoes. On our way out, we stopped by a Cinnabon and got ourselves a little cinnamon roll treat. I made these cinnamon rolls this weekend and upon tasting them, my daughter said, “Dad! These are way better than the Cinnabon we had!”
So I asked her to pay for them. She said no. Oh well.
Here is the recipe. Below you will find some more details.
World’s Best Cinnamon Rolls Recipe
Equipment
- KitchenAid Mixer with dough hook and paddle
- 9 x 13 baking dish
- Rolling Pin
- Small mixing bowl
Ingredients
The Cinnamon Roll Dough Ingredients
- 1 C Milk Warm but not hot
- 2¼ tsp dry yeast
- 5 T Butter (I use unsalted) melted
- ½ C Sugar
- 1 tsp Salt
- 2 Large eggs room temperature
- 4 C Flour (may need extra)
The Cinnamony Filling
- 1 C Brown Sugar
- 2 T Cinnamon
- 1/2 C Butter Softened
- ½ C Milk warm but not hot
Cinnamon Roll Frosting
- 8 oz Cream Cheese
- 5 T Butter softened
- 1 tsp Vanilla
- 3 C Powdered Sugar
Instructions
Making the Dough Ball
- Ensure that the milk is warm, but not hot. If it is over 135°F, it will kill the yeast.
- Pour the milk into the KitchenAid bowl and add the yeast. Allow the yeast to proof, if not using instant yeast.
- Melt the butter (see notes in post below).
- Add the melted butter, sugar, salt, and eggs to the bowl. Mix with a whisk until combined.
- Add the flour to the bowl and mix using the dough hook. Start on slow so that you don't launch the flour all over the place (learned the hard way).
- Allow the dough hook to knead the dough. You may need to slowly add additional flour (possibly up to another ¼ to ½ cup. The dough is supposed to be somewhat sticky. I add flour just until the dough barely stops sticking to the bowl.
Allowing the Dough to Rise
- Now that your dough ball is formed, the next step is to allow it to rise. To do this, you want the dough to sit in a warm environment in a bowl and with a cover that it will not stick to.
- There are two options for the bowl. Option 1: use a separate bowl lightly sprayed with cooking spray (so the dough doesn't stick to the sides).Option 2: remove the dough from the KitchenAid bowl, spray that bowl with cooking spray, and put the dough back. I use option 2 just because I don't want to have to clean another bowl later.Whichever option you choose, lightly dusting your hands with flour will help keep the dough from sticking to your hands as you handle it.
- Cover the bowl with a cloth or a cellophane (spray the cellophane if using that).
- If you need a warm place, you can start your oven and let it warm up for a minute or two–just long enough to make it a warm and cozy place for your dough. Then turn it off and place bowl inside.
- You want to dough to double in size, approximately. Check on it after 30 minutes. It could take up to an hour.
Preparing the Cinnamon Rolls for Baking
- Once the dough rises, the next step is to flatten out the dough in a large rectangle (24in x 15in), top it with the cinnamony filling, roll it up into a large cinnamon roll log, and then cut it into the actual cinnamon rolls for baking. So here we go.
- Prepare a large, flat surface by lightly dusting it with flour (to avoid sticking).
- Place the dough in the middle of your prepared surface. I like to form the ball into a rough rectangle before I start rolling it out.
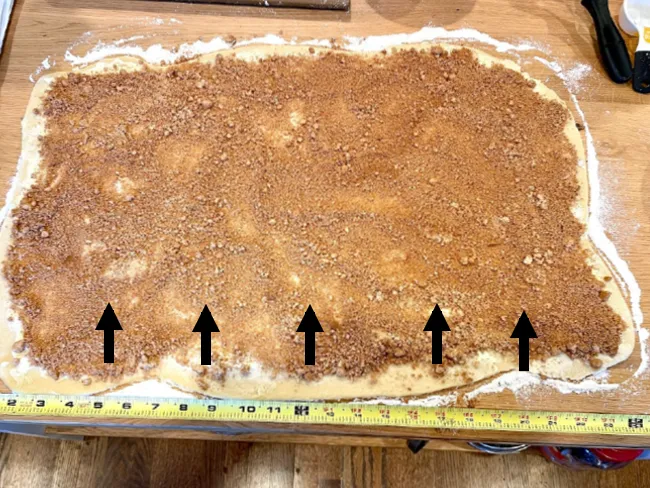
- Using a roller lightly dusted with flour, roll the dough out until it is approximately 2 feet and 1¼ feet (or 24 X 15 inches).
- Spread the softened butter across the entire dough surface.
- In a small bowl, mix the brown sugar and cinnamon together.
- Spread the brown sugar and cinnamon mix over the butter, completely covering the dough. Keep in mind that the center of the cinnamon roll will be the edge where you start rolling, so if you like the center of your cinnamon rolls to be extra cinnamony, make sure your first fold includes a good portion of the cinnamon mix.
- Roll the long end of the rectangle into a large log (like rolling up a sleeping bag sideways).
- It may help to get the rolling going if you use a scraper or spatula to run underneath the dough.
- Cut the cinnamon roll log into 12 equal slices. It should be about 2 inches per cinammon roll.
- Place the rolls in a 9×13 dish, prepared with cooking spray.
- Cover the dish and allow the cinnamon rolls to rise for about 30 minutes. Some recipes say to allow it to double, but once they look a little fluffier, they are good to bake.
- Preheat the oven to 375°F.
- Prior to baking, even pour the warm milk over the cinnamon rolls.
- Bake for 22-25 minutes, until they are a light golden brown color.
Making the Cream Cheese Frosting
- I use the KitchenAid bowl for this, so make sure the bowl is clean.
- Add the cream cheese, butter, and vanilla to the bowl. Mix until smooth.
- Add the powdered sugar. Add a cup at a time on low speed to avoid mess.
- If you find you want the frosting to be thicker, add more powdered sugar. If you want to thin it out, add milk, 1 tablespoon at a time.
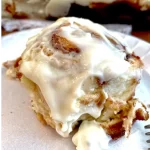
- Once the cinnamon rolls are done baking, spread the frosting throughout and enjoy!
Notes on the Cinnamon Roll ingredients
Warm milk: Just microwave it for 45 seconds. I just do a finger test. It should feel warm but not hot.
Melting the butter: Melting butter probably doesn’t seem like it needs any notes, but it does. If you are using the microwave, heating butter too long or too fast can result in a little butter explosion. So heat it on 50% power. Start with 25 seconds and stir. Then do 10-second increments, stirring between. This will melt the butter without the explosion.
If you are melting butter on the stove top, stirring it will help avoid butter splatters. I will heat it up, and remove it from the heat while swirling the butter around as well.
You also have the option to brown the butter, which you can read about in my Ultimate World’s Best Cheesecake Recipe.
Softening the Butter: I purchase butter that is wrapped in wax paper (rather than foil). Keep the butter in the wax paper and microwave it at 50% power for 20 seconds. That should soften the butter without melting it. If it is still firm, microwave it again at 50% power in 6-second increments.
Softening the Cream Cheese: Remove the cream cheese from the foil wrapper. Microwave it at 50% power for 20 seconds. If it is still cold, zap it again in 10-second increments.
Notes on Preparing the Cinnamon Rolls
I think the recipe card does a good job of describing most of the details (let me know if you have questions on that). I do want to highlight a few of the steps though.
Prepping your work area for rolling out the dough
When you lightly dust your work area, it can be helpful to use a strainer. I add flour to a wire strainer and then tap it around my workstation. It creates a fine (and somewhat even) area to work on.
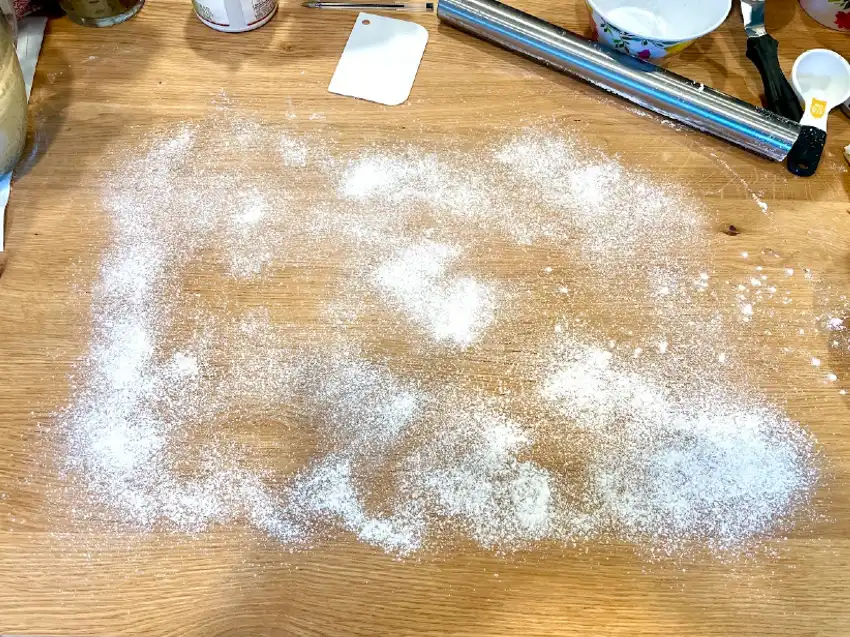
If you keep the area, your hands, and the roller lightly dusted with flour, you should be able to avoid having the dough stick too much to any of the surfaces.
Measuring and Topping the Dough
The ultimate goal is to have cinnamon rolls that have enough, well, rolls in them. Remember, you are going to roll the dough long-ways. The “Short side” of the rectangle will determine how many spirals your cinnamon rolls will have. The “long side” will determine how tall or thick your cinnamon rolls are.
You will roll the dough along the long side of the dough. As a reminder, you want this long side to be around 24-inches. It does not need to be precise. The short side should be approximately 15 inches. This gives enough size to get a good amount of spirals in the rolls. Yes, I actually do use a tape measure to make sure my sides are where I want them to be.
Once rolled, you will end up with a cinnamon roll log that should be approximately 24 inches (which is what you measured out).
You may have some dough that makes the log longer than 24 inches. I actually cut those sections off to get a more uniform look to the cinnamon rolls. There is nothing wrong with keeping those sections though.
If your log is 24 inches, you will end up with 12 cinnamon rolls if you cut them each 2 inches. Here is a picture of how that works:

Yes, I also use a rule when I am cutting my cinnamon rolls. Again, it just makes them more uniform.
As for cutting the cinnamon rolls, I used to get a long string of dental floss and used that to pinch-cut the rolls. You do this by sliding the string under the roll and just tightening it around where you want to cut. The thought behind using floss is that by pinching the dough evenly, it keeps the circle shape better.
Now, however, I just use a plastic dough scraper to cut through. It’s just easier to use than floss and it does a fine job. I’ve never had a problem with it mangling the shape of the rolls.

As you can see, measuring and cutting your cinnamon rolls in this way creates a cinnamon roll that has about four spirals full of cinnamon goodness.
Enjoy your Cinnamon Rolls!
Other than those items, I think everything should be fairly straightforward. If you have questions, let me know in the comments.